We continue with our series on the new Aquaglide line of inflatable kayaks. Our first two reviews focused on the Chinook price-point line. Our third and fourth reviews featured two in the flagship Columbia line of high pressure inflatables; the Columbia One HB – a high-pressure touring model for one paddler, and the Columbia Tandem for 1-3 paddlers.
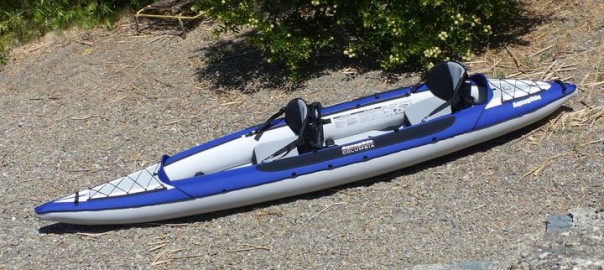
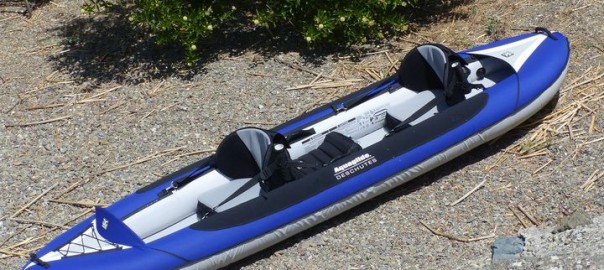
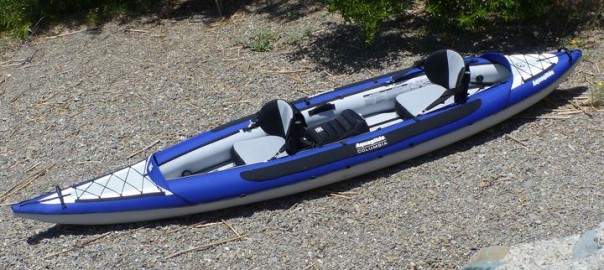
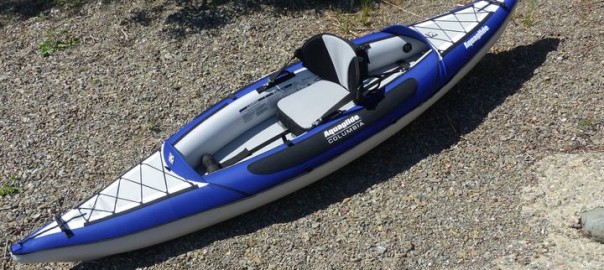
We’ve now moved on to the Columbia Two HB, a 13.5 foot long inflatable kayak designed for one or two paddlers. (Please note: some of the information will be repeated from other writeups.)
Getting Started with the Aquaglide Columbia Two HB:
We unpacked the box and laid out the pieces – inflatable kayak, backpack, instructions, repair kit, foot braces, tracking fin and two Pro-Formance seats.
Initial measurements showed the kayak body weighs approximately 32.5 lbs, with a backpack size of roughly 27 x 23 x 14 inches, while the kayak with seats, fin and braces – all in the backpack – weighs 44 lbs. Boxed up, the dimensions are 30 x 29 x 15 inches with a shipping weight of 54 lbs. As a note, we were able to also get the pump in the case, with the paddles stuffed into the mesh pocket.
The included instructions are adequate and include diagrams with inflation details.
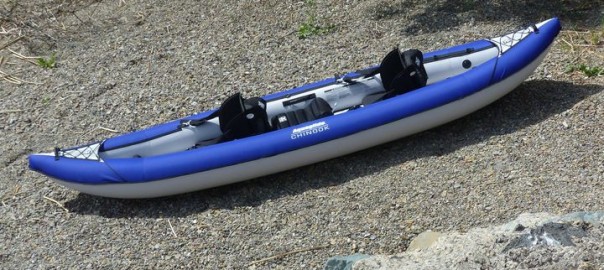
Set up is straight-forward and simple – unpack, unfold, inflate.
(AirKayaks Side note #1: When initially removing the kayak from the carrying case, take a good look at how the kayak is folded This is probably the most overlooked step and it is VERY helpful when trying to get the kayak back into the bag.)
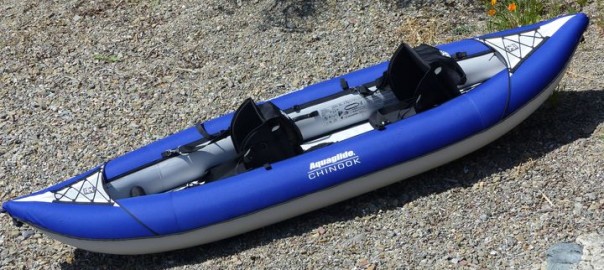
There are two inflation chambers utilizing Boston valves – the two side chambers – while the high-pressure floor features a military valve. There are two more small chambers with twistlock valves, for the seat bases. The floor is pumped up first.
The military-style plunger valve is simple to use – with your finger, twist the plunger slightly to the “up” position to inflate (air goes in but doesn’t come back out) and “down” to deflate (air comes out).
The Columbia Two HB floor requires a military valve adaptor, which does not come with most standard pumps. Here is where we came to our first issue – no military valve adaptor was included. We were aware of this from our previous write-ups and had one handy. (AirKayaks note #2: We spoke with AquaGlide. The first couple of shipments did not include the adaptor, but subsequent shipments will. We did obtain a number of fittings that we will be including with the first shipments.)
Lock the adaptor onto the conical Boston valve adaptor by friction fit, and then attach to the military valve with a slight twist. Since the main chambers are inflated to 2
You must be logged in to post a comment.