As high-pressure inflatable paddle boards have increased in popularity – and the development of even higher-pressure materials on the rise – the issue of pumps has become a hot topic.
Specifically, what is the simplest, easiest way to get your inflatable SUP to the higher pressures of 18 to 20 PSI without developing a hernia or popping a blood vessel?
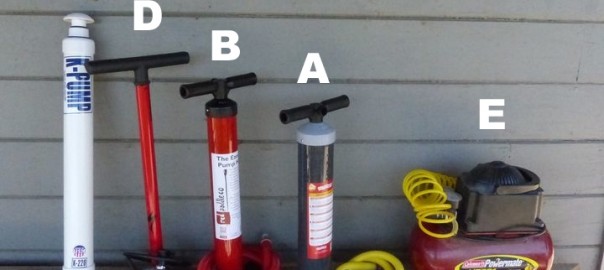
While we have used many of the pumps that have come through the door, we had not actually compared one to another. So, we pulled out all the SUP pumps in the warehouse, lined them up and tried them out, one by one.
Before going further, here are a few things you need to keep in mind when reading our review:
All pumping times and amounts are dependent on the size of board (length, width and thickness) which equates to the volume of air you will be pumping. Many of the popular boards run from 190 to 220 liters, but we do have smaller boards down to 160 liters and some big, beefy boards at 370 liters.
Despite what the manufacturer may tell you, try out the board and figure out what PSI you actually need – no sense in spending the time and energy pumping something up with little gain. While some boards can be inflated to 25 PSI, for most of us that is overkill. Smaller people may get away with 12 PSI and we had one 6’4, 300lb customer fine at 19 PSI. But in no case should you go higher than the manufacturer recommended pressure.
I have ranked them by “difficulty” level, but I am a smaller adult at 5’4″. Larger people may have an easier time reaching higher pressures.
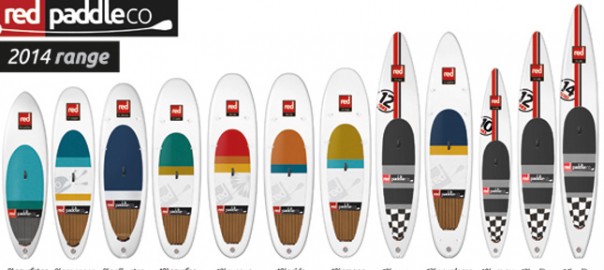
The pumps we used all have the Halkey-Roberts (HR) valves and attachments. If you purchase an aftermarket pump, please make sure that a) the adaptors that come with it will work with your board or b) that you can get your hands on an adaptor and glue it onto the hose end. The HR valves are on the following inflatable boards that we know of: Red Paddle Co, C4 Waterman, Advanced Elements, AquaGlide, Airis Inflatables, Conquest, BIC.
To give a rough factoring, we’ve listed the air volume for the pumps – check on the volume for your pump. For example, 2000 cm3 is equal to 2.0 liters. If a pump puts out 2 liters and the board is 200 liters, theoretically it would take 100 full strokes to fill the board – we didn’t always see that, though. So, a 2000 cm3 pump will put out less air – and be easier to pump to higher pressures – than a 2500 cm3 pump. The 2500 cm3 pump will fill out a board faster, but
You must be logged in to post a comment.