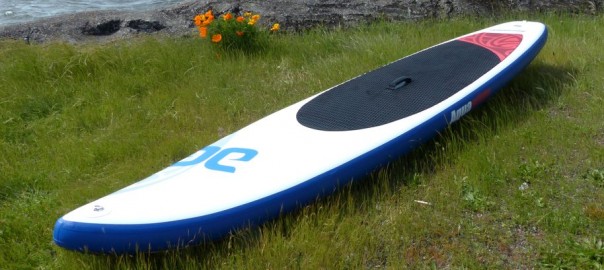
We occasionally get questions on attaching d-rings to inflatable paddle boards. Recently, we had the opportunity to purchase preliminary, production-run 2016 AquaGlide Cascade 12-0 inflatable paddle boards.
As the first run did not include bungee deck lacing on the nose, we were able to make a special purchase on the boards, and AquaGlide supplied the deck lacing kits. While the standard AquaGlide Cascade 12-0 production boards retail for $999, the prototype version – without deck lacing but supplied with the deck lacing kit – sells for $699.
We used this opportunity as a learning tool to pass on our experience. While the following instructions are specific to the AquaGlide Cascade 12 prototypes, the method is fairly universal.
The included AquaGlide instructions make it sound pretty simple:
1) Locate where you want to put the d-rings.
2) Lightly clean the board, removing any printed graphics that might interfere with adhesion.
3) Apply adhesive to board and d-rings, twice.
4) Press down and let dry.
What’s included in the AquaGlide bungee lacing kit: 61 inches of bungee cording, instructions, 4 cloth d-rings on pads, HH-66 vinyl cement with cap brush. (Please note, while this kit is included with the AquaGlide prototype paddle board, it is not available as a separate purchase. You would need to source the d-rings, bungee and vinyl cement if you are planning on applying this to another board.)
What tools you will also need: Large piece of cardboard, pencil, ruler, small 1/2 inch stiff brush, small rag, solvent (see below), credit card or piece of stiff plastic to use as a “roller.”
The instructions direct you to place the center of the d-ring/pads 15″ apart front-to-back and 17″ apart side-to-side. While AquaGlide says the d-rings can be attached to the board inflated or deflated, we pumped the board up somewhat firm, to ensure that everything would be centered, using the following method.
Take one d-ring pad and find the center. To do this, measure the pad side-to-side and top-to-bottom marking the center each time. Then run a pencil mark each direction. The center of the included d-rings was just under 1.25 inches each dimension.
Cut a piece of cardboard to measure 15 inches by 17 inches.
Lay the cardboard across the empty bow of the board, with the 17″ inch side-to-side. Move it around until it is in the position you want, making sure that it won’t be in the way of paddling. We positioned the end of cardboard 5.5 inches from the end of the deck pad. Then we measured the edge of the cardboard to the blue side rail until it was centered, in this case 2.75″ from the blue side rail on the nose side, and 5 1/8 inches from blue side rail on the deck pad side;
